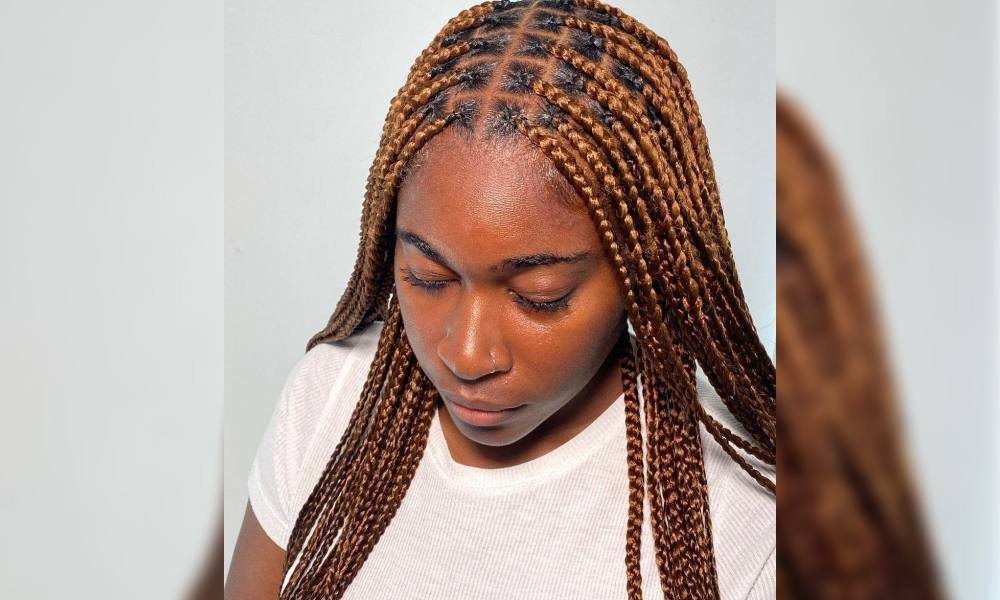
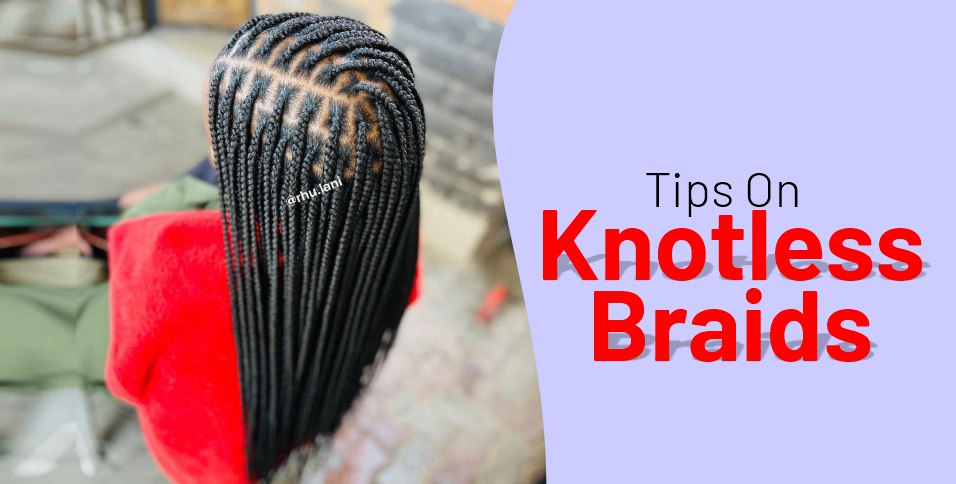
If you have naturally textured hair, going to the salon for new braids is one of the things you look up to. Braids have been a popular style for a lot of decades now, and they only evolve around different techniques of braiding. One of these techniques that have come over centuries is the knotless braids.
The knotless box braids are the perfect way to give your scalp a break while getting a fresh look at the same time. The unique thing about knotless box braids is that they start with natural hair at the base. The extensions are added as you go down the braid. Learn more about knotless braids below.
1. What Are Knotless Box Braids?
Knotless braids can be described as a type of feed-in technique where extensions are added to a natural hair base. The difference between knotless box braids and traditional braids is that there is an extension knot at the base of the braid in the traditional ones. The knotless box braids do not have a knot at the base.
Just as the name suggests, knotless means not having a knot at the base. This technique of braiding is not new and has slowly been gaining popularity over time.
Because of how the braid is installed, the technique is usually easier on the scalp than other types of braids. The installation style helps minimize the tension that is usually applied when pulling the root.
When the knotless box braids are done perfectly, they are protective of the scalp, and they make your style appear more natural. The braids also have an even weight distribution as they are installed into the natural hair piece after piece.

2. The Prep For Installation of Knotless Box Braids
Installation of box braids is easy because the base starts with natural hair. It is important to prepare your hair and scalp for the installation of any protective style.
You should wash your hair thoroughly and condition it and finish by doing the hair detangling and blow dry before installation of the braids.
You should blow dry the hair up to a point where the strands stand out smooth but not silky straight. You should do these steps before going for the appointment, or you can have them done by the stylist if you are not certain how to do them yourself.
The gold is to do the installation on clean and properly moisturized healthy hair. If you also need to trim your edges, it should also be done as part of the prep process.
3. How Long Do Knotless Box Braids Take
There is no specific amount of time that it takes to install knotless braids. The length of time entirely depends on factors such as the length and size you want your braids to be.
The level of experience of your stylist is also key when it comes to installing any type of braids. The more years of experience, the faster the stylist will be, and hence the less time it will take.
The number of braiders working on the installation also determines the time taken. The presence of an assistant also influences the total time taken.
In estimation, small braids usually take five hours, medium braids take four hours, and large and jumbo braids take two hours. In cases where it is only your stylist with no assistant, you should expect to take an additional hour.

4. How to Refresh Knotless Box Braids
The care and maintenance you take on your knotless box braids determine how long they are going to serve you.
You should take proper care and maintenance of your braids so that you will not have to visit the salon sooner than you expected and end up spending more.
You should use vitamin E oil on your scalp regularly and ensure you massage your scalp. When you are sleeping or lying down, you should use a bonnet or scarf that is made of satin or silk. This way, you are able to protect the hair on the roots from drying and frizzing.
In the occasion where you realize that your braids have flyaways just a few weeks after installation, you should consider using setting mousse and using a du-rag on top of your knotless braids to help lay down the flyaways.
Also Read: How to Pull Off the New Cargo Pants Trend for Women


