
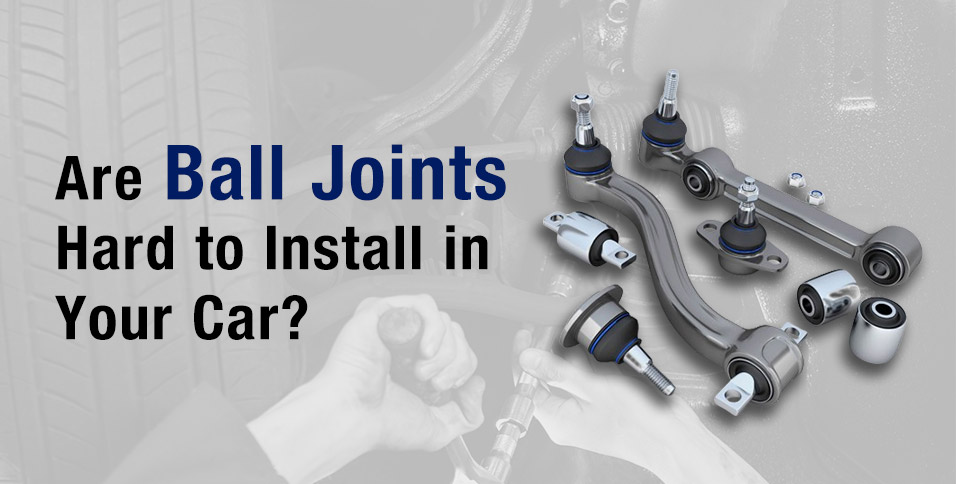
Ball joints are critical parts of your vehicle’s suspension system. Linking the control arms to the steering knuckles, they let the wheels move vertically and laterally while the vehicle moves. Faulty ball joints can lead to wandering steering, excess vibration, and uneven tire wear. Fortunately, you can replace them — but you’ll need the proper tools and workspace. This guide covers the basics, including the tools you’ll need such as a ball joint installer.
Vehicle Complexity, Accessibility & Tools Required
Ball joint replacement isn’t as easy as changing the oil or installing new wiper blades. While it’s a complex task, it can be performed by someone with moderate DIY auto repair experience. Replacing ball joints is a three-part job:
- Removing the old joints
- Installing new ball joints
- Proper reassembly and suspension alignment
Before you start, you’ll need a workspace with plenty of room. Make sure you park your vehicle on a level surface. An indoor garage is an ideal location, offering enough space and flat ground for safe installation.
Tools and Supplies
Ball joint replacement requires several tools, including a ball joint press set, a full socket set, and a ball joint separator. You’ll need the ball joint press set to remove and replace press-fit upper and lower ball joints. The socket set is for retorquing your bolts and other hardware after installing the new ball joint.
Depending on your vehicle’s design, you may need a ball joint separator. This tool helps unfasten and remove the ball joint from the spindle support arm, especially if the joint is difficult to remove. If you have a press kit but find that you need a separator, you can find them at your preferred auto parts retailer. You can even obtain a loaner ball joint separator for short-term rental for reasonable rates.
The Replacement Process
Your specific replacement process may differ according to your vehicle’s design. However, it should involve a few basic steps:
- Take off the front wheels.
- Detach the old ball joint and remove it from the control arm or steering knuckle.
- Slip the new ball joint into position and attach it with the appropriate hardware.
- Tighten the bolts until they reach the proper torque levels.
After performing these steps, you’ll need to align the steering and suspension parts. You should first check the steering wheel to confirm it is centered. Keep in mind that you may need to adjust the tie rod ends if the steering wheel doesn’t center properly.
Alignment Considerations After Installation
Assuming all goes to plan and you’re able to perform alignment adjustments by yourself, your final step should be test-driving your vehicle. However, don’t rule out the possibility that your tie rod ends may also need replacement, especially if they show similar levels of wear.
No matter what other maintenance your vehicle needs, your preferred auto parts retailer is an excellent source for tools and supplies. Besides a loaner ball joint press adapter, you can find loaner torque wrench sets and other essential gear. With these loaner tool programs, you can quickly get the job done without spending too much on extra tools.


